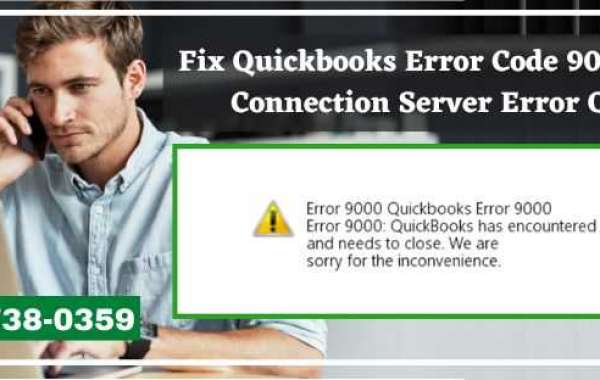
Fix QuickBooks Error Code 9000: Payroll Connection Server Error Quickly!
Sending Payroll data or depositing paychecks directly becomes impossible once you encounter QuickBooks error 9000. The error occurs when your QuickBooks has trouble communicating with its server. QuickBooks has multiple reasons for experiencing connectivity issues. Let us start by understanding the QB error 9000.
Possible reasons behind the occurrence of QuickBooks Error 9000:
If your internet connection is not functioning correctly at the required speed, it will result in QB error code 9000.
The date and time settings on your system may be incorrect, leading to the error code 9000 in QuickBooks.
If you are using QuickBooks in multi-user mode, you may encounter the QuickBooks error 9000.
Your internet browser’s security certificate may have expired, causing error 9000.
The system’s firewall might be interfering with the proper working of your QuickBook Desktop Application triggering the QB error 9000.
The error 9000 can also occur if your internet connection is currently facing a network time-out issue.
We have the best working troubleshooting methods for error 9000 stated below. If you find them hard to follow or if you feel stuck, make sure to contact us on our helpline: (855)-738-0359.
Ways to rectify the QuickBooks error code 9000:
Keep the following things in mind before you begin to troubleshoot for the error 9000:
Ensure that all the Windows drivers are up-to-date and corruption-free.
Use the latest, recently updated version of QuickBooks.
Keep a backup of your company file to prevent any accidental data loss.
If you are unable to connect to the internet outside of QuickBooks, attempt basic troubleshooting for your internet connection. You can do this by resetting your router and switching to a wired connection. If this doesn’t work either, contact your ISP.
Given below are the best three methods that have been tested to work for resolving the QuickBooks Error 9000: Payroll Connection Server Error.
Also Related Blog Post: QuickBooks Express Web Connect Error
Solution 1: Set up your QB Desktop Internet Connection Settings
Follow the steps given below:
Step 1: Firstly, launch QuickBooks and proceed to click on the ‘Help’ tab.
Step 2: Now, select ‘Use my computer’s Internet Connection settings to establish a connection when this application access the Internet’.
Step 3: Next, click ‘Next’ and go to the option called ‘Advanced Connection Settings’.
Step 4: Here, select the ‘LAN’ settings and further click the ‘Automatically Detect Settings’ checkbox.
Step 5: Ensure that the ‘Proxy Server’ checkbox is NOT checked.
Step 6: Lastly, click ‘Ok’ followed by ‘Done’.
If this method fails to take the QB error 9000 away, proceed with the following procedure.
Solution 2: Run the Disk Cleanup Tool to Remove Junk and Temporary Memory Files
Given below are the steps you need to follow:
Step 1: As the first step, you need to press the ‘Windows+R’ keys on your keyboard to prompt the ‘Run’ window to appear on your screen.
Step 2: Type in ‘cleanmgr’ in the search bar of the Run window and press enter.
Step 3: Now, the disk cleanup utility will appear on your screen.
Step 4: Here, select the ‘C: Drive’ from the drop-down list and further click ‘Ok’.
Step 5: Next, a new disk cleanup window will appear on the screen.
Step 6: Lastly, click on the ‘Ok’ button to erase all the junk and temporary files from your system.
If this procedure does not help you in getting rid of the QuickBooks error code 9000, try the following method.
Know More: My QuickBooks Screen Went Black And White
Solution 3: Perform a System Restore
Here are the steps you need to follow with precision:
Step 1: Firstly, click on the ‘Start’ button on your keyboard.
Step 2: Now, from under the ‘Start’ menu, click on ‘Control Panel’.
Step 3: Next, type ‘System Restore’ in the search bar located on the top-right of the window.
Step 4: Here, click ‘System Restore’ and enter your administrator’s credentials if asked.
Step 5: Lastly, select a ‘Restore Point’ you created earlier and proceed to click ‘Next’. Now, simply follow the on-screen instructions to complete the restoration process.
End Note:
We sincerely hope that the above-stated troubleshooting methods came to your aid in getting rid of the QuickBooks Error Code 9000. However, if you got stuck trying to follow the given steps/solutions, give us a call on our helpline number: (855)-738-0359.


