How to Replace a Broken Belt in Your Appliance Like a Pro
You know the sound. Or, more accurately, you know the lack of sound. You load up your dryer, hit "start," and instead of the gentle hum and tumble, you get a motor whirring and nothing else. Your clothes sit in a sad, soggy pile. It’s a classic sign: you’ve got a broken belt on your hands.
Before you panic and call a repair service that costs an arm and a leg, take a deep breath. Replacing a belt is one of the most common and manageable DIY fixes out there. With a little know-how and the right part, you can tackle this Home Appliance Belt Replacement yourself and feel like a total pro.
Let’s roll up our sleeves and get your machine back in action.
Step 1: Diagnosis : Confirming the Culprit
First, make sure it’s actually the belt. For a dryer, the symptoms are pretty clear:
-
The drum doesn't spin when you start the cycle.
-
You might hear the motor running.
-
You can manually spin the drum with no resistance.
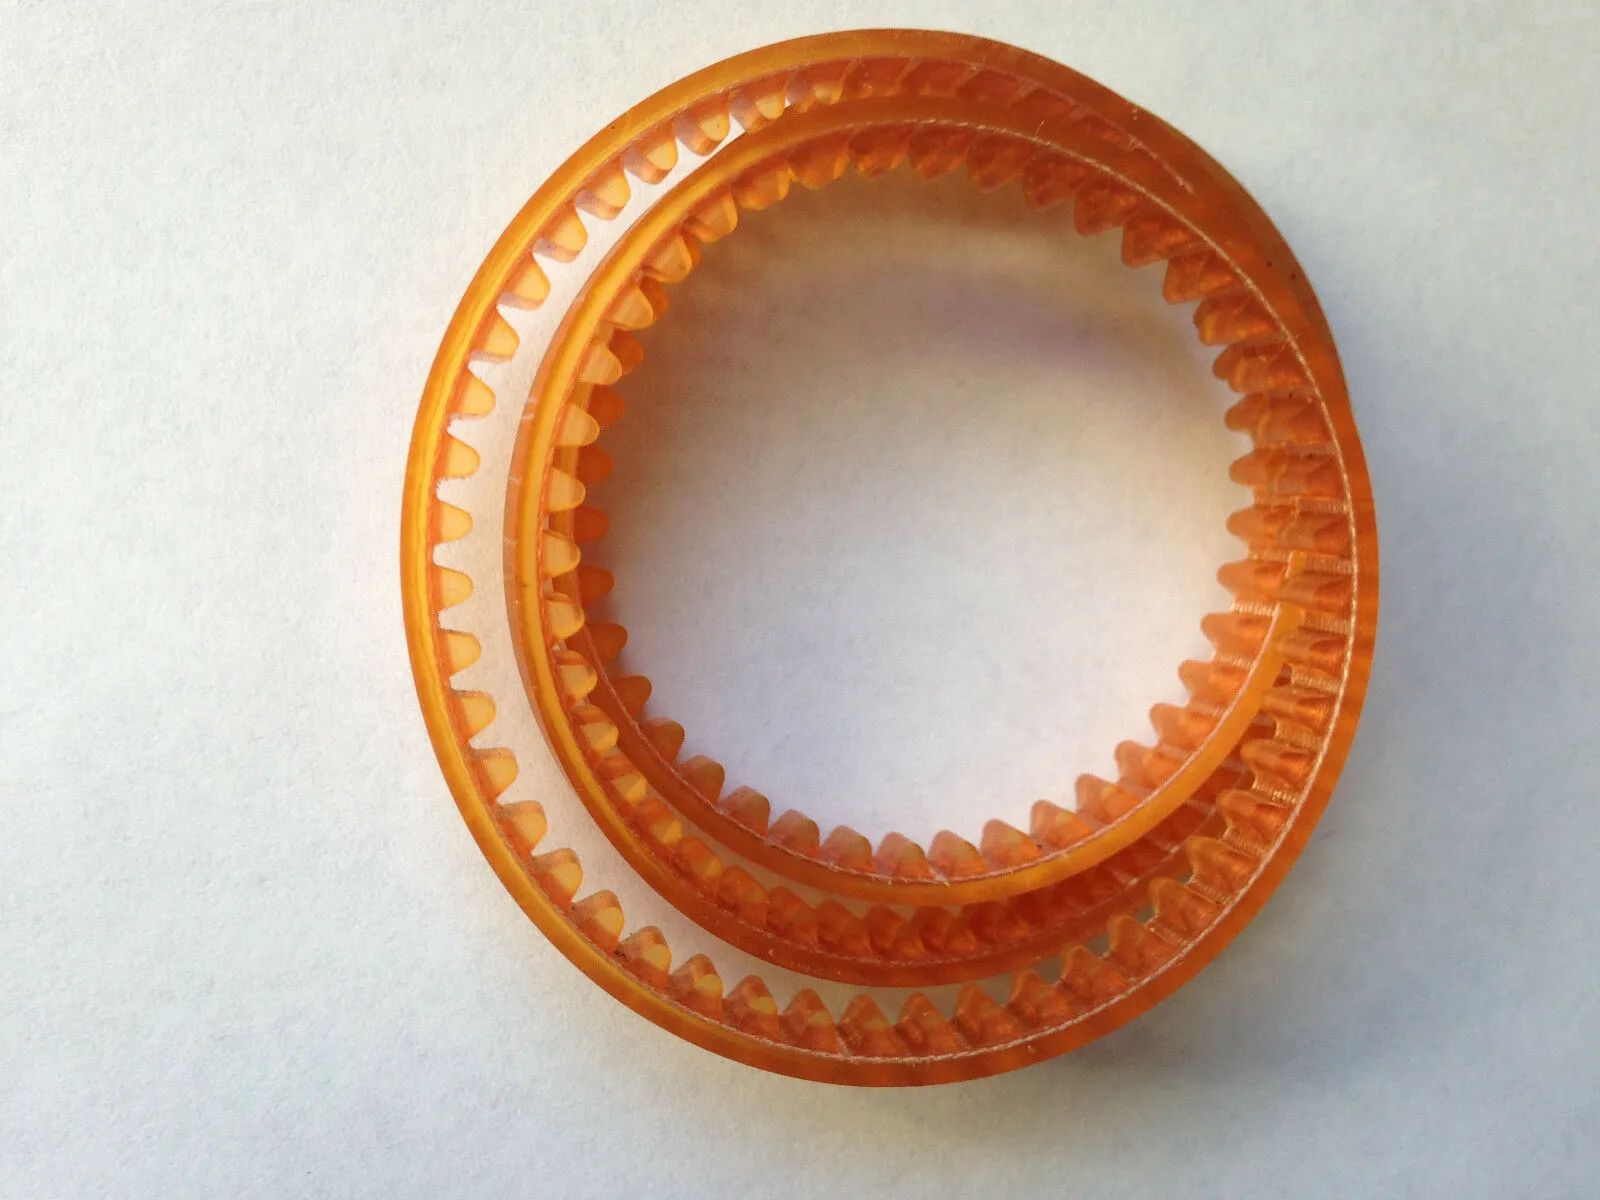
If that’s the case, you’re almost certainly looking at a broken Dryer Drive Belt. This is the long, looped belt that wraps around the drum and a motor pulley, making everything turn.
Step 2: Safety First! This is Non-Negotiable
We’re dealing with appliances, so let's be smart.
-
Unplug It. Seriously. Don't just turn it off at the dial. Pull the plug from the wall socket. For a gas dryer, also shut off the gas supply valve.
-
Clear Your Workspace. Pull the appliance away from the wall to give yourself room to work. A well-lit, uncluttered space is a safe space.
Step 3: Gaining Access : Getting to the Guts
Most dryer belts are accessed from the inside. You’ll need to remove the front or top panel a quick online search for your specific model number will tell you exactly which one. Usually, it's just a matter of unscrewing a few screws (sometimes hidden under trim pieces) and carefully sliding the panel off.
Pro Tip: Take a picture with your phone at each step before you remove a part. This will be your cheat sheet for reassembly!
Step 4: The Main Event : Swapping the Belt
Once you’re inside, you’ll see the old, broken belt. Here’s the play-by-play:
-
Remove the Old Belt: Clear away any remnants of the broken belt from the drum path and motor pulley.
-
Prepare the New Belt: This is where part quality matters. You want a durable, perfectly sized belt that won’t let you down in six months. This is exactly why we recommend getting your replacement from West Coast Belts. They specialize in high-quality, reliable parts that are built to last.
-
Route the New Belt: This is the finesse part. The new Dryer Drive Belt needs to be routed correctly around the idler pulley and motor shaft according to your model's diagram. It usually slips over the drum in a specific orientation.
-
Re-tension the Belt: Most dryers have an idler pulley that keeps the belt tight. You’ll need to carefully pivot this pulley to slip the new belt on and provide the proper tension. Don’t force it a smooth, firm motion is all it takes.
Step 5: Putting It All Back Together
You’re on the home stretch!
-
Carefully reposition the drum if you had to move it.
-
Reattach the front or top panel, reversing the steps you took to remove it.
-
Make sure all screws are snug, and no wires are pinched.
Step 6: The Moment of Truth
Plug the dryer back in (and turn the gas on if applicable). Throw in a few towels for a test run. Hit start and listen for that beautiful, familiar tumble. Give yourself a pat on the back you did it!
Why Your Choice of Belt Matters
A successful Home Appliance Belt Replacement isn’t just about the labor; it’s about the part. A cheap, off-brand belt can be noisy, wear out quickly, or even damage your appliance.
That’s why for a job this straightforward, it pays to use a premium part from a trusted supplier like West Coast Belts. You’re investing in the long-term health of your appliance and saving yourself from a repeat performance down the line.
So next time you hear that ominous silence from your laundry room, don’t sweat it. You’ve got the skills, you know the steps, and you know where to get the right part. Now go forth and fix like a pro.


