DIY Automatic Gate Opener: The Smart Way to Upgrade Your Property Security
If you’ve ever considered installing a diy automatic gate opener, you’re already thinking one step ahead in terms of convenience, security, and property value. Automatic gate systems are no longer limited to large estates or commercial spaces—they’ve become increasingly accessible for homeowners who want control, safety, and ease of use without hiring expensive installation teams.
In this guide, we’ll break down everything you need to know—from choosing the right system to installation tips, expert insights, and real-world user experiences—so you can confidently take on your own project.
Why Choose a DIY Automatic Gate Opener?
A DIY approach isn’t just about saving money—it’s about flexibility and customization. Many modern gate opener kits are designed specifically for homeowners, with plug-and-play components and easy-to-follow instructions.
Key Benefits:
- Cost Savings: Professional installation can cost hundreds or even thousands.
- Customization: Tailor the setup to your specific gate size, weight, and usage.
- Learning Experience: Gain hands-on knowledge of your property systems.
- Convenience: Remote access, smartphone control, and automation features.
According to industry estimates, automated gate installations can increase property value by up to 5%, especially in suburban and semi-rural areas where security is a priority.
Types of Automatic Gate Openers
Before diving into installation, it’s important to understand your options. The type of gate you have will determine the opener you need.
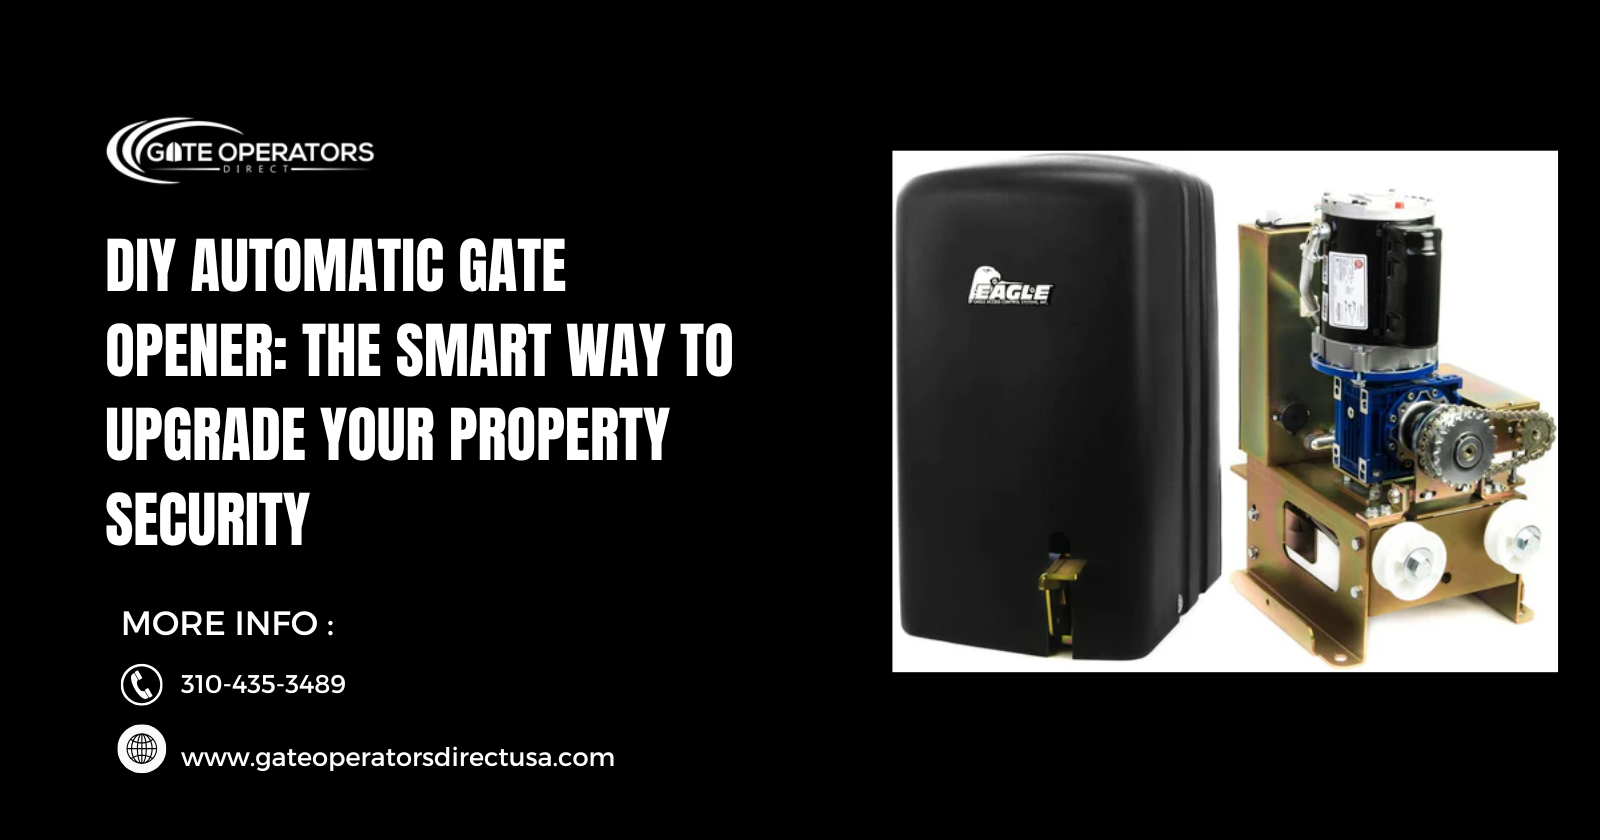
1. Sliding Gate Openers
Ideal for properties with limited swing space, sliding gates move horizontally along a track.
In many homeowner reviews, the best sliding gate opener models are praised for their durability and ability to handle heavier gates. They’re especially useful for driveways on slopes or tight spaces.
2. Swing Gate Openers
These are perfect for traditional gates that open inward or outward like doors. They come in single or dual-arm configurations.
3. Solar-Powered Openers
Great for remote locations or eco-conscious users, solar kits reduce dependency on electrical wiring.
What to Look for in a Gate Opener Kit
Not all kits are created equal. Here’s what experts recommend checking before purchasing:
Power & Capacity
Ensure the motor can handle your gate’s weight and length. Overloading a motor can reduce lifespan and performance.
Build Quality
Look for weather-resistant materials like steel gears and aluminum housing, especially if you live in areas with extreme temperatures.
Smart Features
Modern systems offer:
- Remote controls
- Smartphone app integration
- Keypad entry
- Auto-close timers
Safety Features
Essential for families and pets:
- Obstacle detection
- Emergency release
- Soft start/stop functions
Step-by-Step Installation Overview
While each kit comes with its own manual, the general process looks like this:
1. Prepare the Gate
Ensure your gate is properly aligned, balanced, and moves smoothly manually.
2. Install the Motor Unit
Mount the motor securely near the gate, ensuring it’s level and stable.
3. Attach the Drive Mechanism
Depending on the type, this could be:
- A chain (for sliding gates)
- Arms (for swing gates)
4. Connect Power Supply
Wire the system to your main power source or solar panel kit.
5. Configure Controls
Set up remotes, keypads, or mobile apps.
6. Test the System
Run multiple open/close cycles and check safety features.
Common Mistakes to Avoid
Even though DIY installation is manageable, there are a few pitfalls:
- Ignoring gate weight limits
- Improper alignment
- Skipping safety feature setup
- Using low-quality wiring or connectors
Taking shortcuts can lead to long-term issues, so patience and precision are key.
Expert Insights: Is DIY Really Worth It?
Industry professionals agree that DIY gate openers are a great option—but only if you’re comfortable with basic tools and electrical work.
When DIY is Ideal:
- You have a standard residential gate
- You’re comfortable following instructions
- You want to save money
When to Consider Professional Help:
- Complex commercial setups
- Heavy industrial gates
- Advanced automation systemMaintenance Tips for Long-Term Performance
To keep your gate opener running smoothly:
- Lubricate moving parts every few months
- Check wiring and connections regularly
- Clean tracks and hinges
- Test safety features periodically
Proper maintenance can extend the lifespan of your system by several years.
FAQs About DIY Automatic Gate Openers
1. Is installing a DIY automatic gate opener difficult?
Not really. Most kits are designed for beginners and include step-by-step instructions. Basic tools and patience are usually enough.
2. How long does installation take?
On average, 4–8 hours depending on the complexity and your experience level.
3. Can I use a DIY opener for heavy gates?
Yes, but you must choose a model rated for your gate’s weight and size.
4. Are automatic gate openers safe?
Modern systems include safety sensors, auto-stop features, and manual overrides to ensure safe operation.
5. Do I need electricity for my gate opener?
Most systems require power, but solar-powered options are available for off-grid setups.
6. What is the lifespan of a gate opener?
With proper maintenance, most systems last 8–15 years.
Final Thoughts
A DIY automatic gate opener is more than just a home improvement project—it’s an investment in security, convenience, and property value. With the right tools, proper planning, and a bit of patience, you can achieve professional-level results without the hefty price tag.
If you’re looking for reliable products, expert guidance, and high-quality solutions, Gate Operators Direct LLC offers everything you need to get started. Their range of gate opener systems is designed to support both beginners and experienced installers, making your DIY journey smoother and more successful.