Top 5 Best Electric Tomato Juicer For Canning
If you're looking for fresh tomatoes, your typical juicer from the garden might not be sufficient. Be wary of tomato juice made of powdered ingredients! The most effective electric tomato juicer that can be canned will remove 100% of the flavor and nutrients and leave the seeds or pulp behind. If you're looking for a method to extract the highest yield from your own tomatoes takes a look at an electronic juicer.
Let's get started Why juice? The juice of tomatoes is an excellent method to add nutrition and flavor to soups, pasta sauces, and other dishes without adding water to your sauce. Juicing can also help you keep more of the tomatoes' natural fiber and nutrients.
What Is Canning?
Canning lets you preserve your fruits and vegetables to use later. Most often, making cans involves heating food items, sealing them in an airtight jar, and boiling the jars in hot water to kill bacteria and form a vacuum seal on the container.
To can tomatoes and fruits specifically, this is simmering them in spices and sugar until they attain the desired consistency. Then, pour them into jars, put on rings and lids for sealing, and boil the containers in water.
Equipment Required For Canning Tomato Juice
To can tomato juice you'll require the following tools;
- Juicer.
- Canning lids and jars.
- Tomatoes (you might want to select varieties that aren't as liquid).
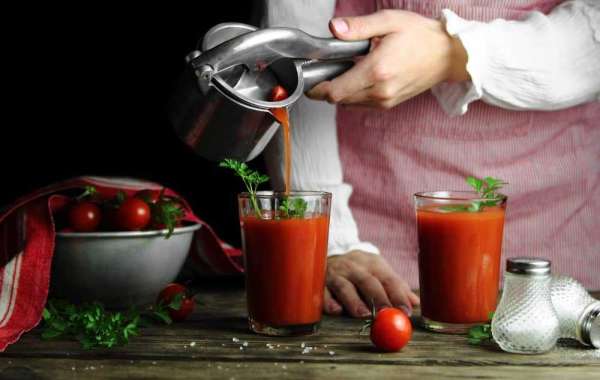
- Electric extractor for tomato juice (recommended).
Making Tomato Juice With Your Juicer
1. Put the tomatoes in your electronic juicer and then juice the whole fruit. If you don't have an appliance in your kitchen, you can use an electric blender or food processor to make 1 pound of tomatoes at one time.
2. Allow the juice to settle for 5 minutes, then pour it through a strainer made from metal to separate any pulp or seeds that remain.
3. Put the liquid into a pan that you bring to the point of a boiling point over a moderate temperature. Stirring constantly, allow the juice to simmer until it is reduced to approximately half.
4. Pour the drink in sterilized jars for canning, leaving 1-inch space on the very top of every jar to allow for expansion during the process of canning. Clean up any spills that may have accumulated on the exterior of the jars using an unclean cloth.
5. Secure sterilized lids on the jars. Place the jars inside the pressure cooker, making sure that there is a minimum of 1 inch of water that covers each container.
6. Turn up the heat until it is at 10-pounds per square inch (PSI). The juice should simmer at this point for up to 25 minutes.
7. Take the jars out of the cooker and let them cool completely, without being moved or touched. The juice must have created a seal that will cause the middle of each lid to sink down leaving an indented circle around the edges of the lid that is in contact with the lid. If the lids are slightly concave, push them down on the middle with your fingers to form a sufficient seal.
8. Label jars with the contents as well as their "best to" dates. Store them in a cool, dark area until 12 months or longer, depending on how thoroughly you cleaned them prior to preparation. If there's no evidence of mold or any other sign or signs of spoilage it is safe for drinking.